


 September 2, 2026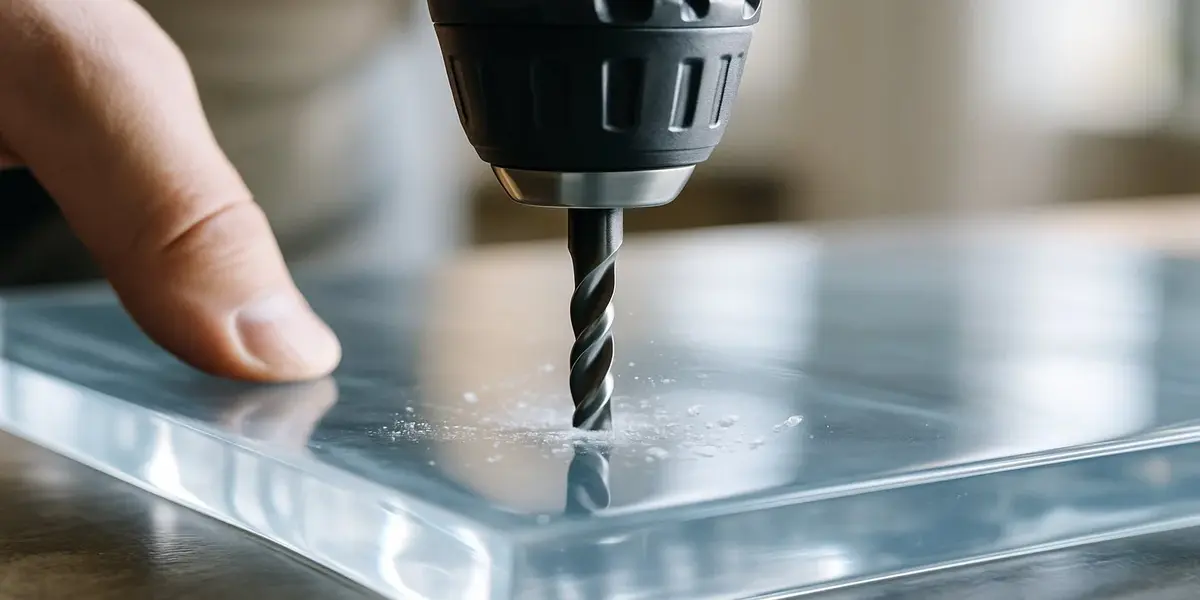
Making a hole in polycarbonate is a relatively simple operation, provided that the material remains stable during the work and the drill bit actually cuts the plastic rather than heating and pushing it. Cracks, ragged edges or melting are most often caused not by the nature of polycarbonate itself, but by a blunt tool, excessive pressure, sheet vibration or a poorly chosen drilling location.
Holes intended for subsequent sheet fixing require greater attention. Both solid polycarbonate and multiwall polycarbonate change dimensions with temperature, so a hole cannot be designed solely according to the diameter of the screw. The sheet structure, fixing method, required thermal clearance and recommendations regarding the distance from the edge must all be taken into account.
How do you make a hole in polycarbonate without cracking it?
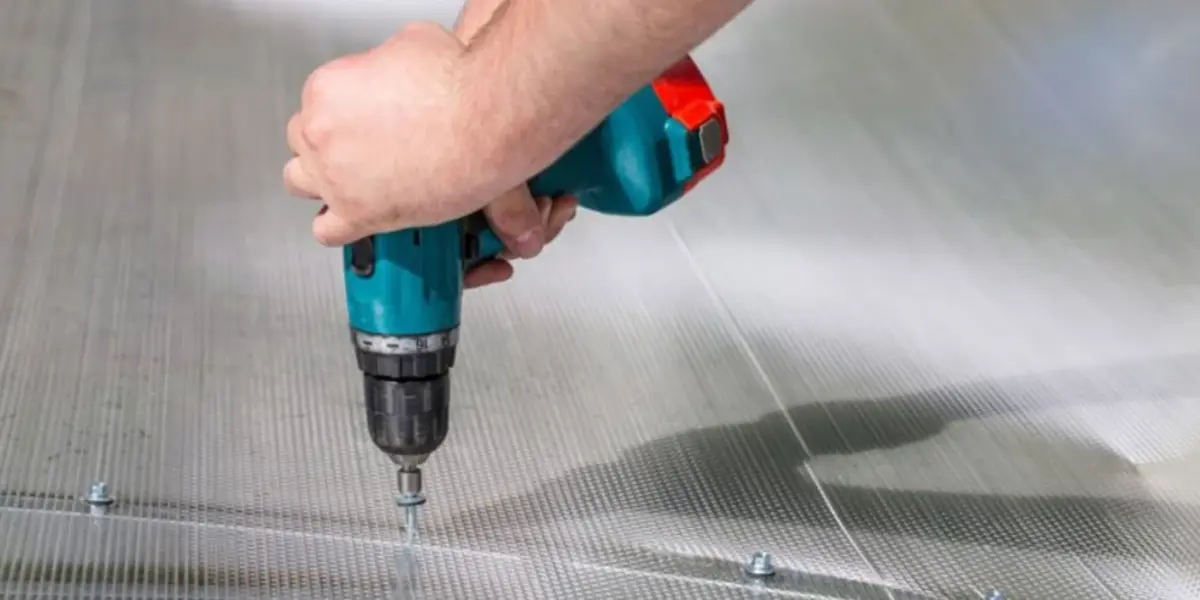
The most important requirement is to limit the stresses generated as the tool passes through the sheet. If the sheet is properly supported, the drill bit is sharp and the operator does not apply excessive pressure, polycarbonate can be drilled without chipping or cracking the edges.
Problems often occur only towards the end of drilling the hole. When the tip of the drill bit breaks through the final layer of plastic, an unsupported sheet may bend. Instead of cutting cleanly through the material, the tool then begins pulling it downwards. For this reason, it is advisable to place a board, wood-based panel or another flat backing directly beneath the drilling point so that the drill bit can enter it after passing through the polycarbonate.
The second risk is temperature. Polycarbonate should not melt around the tool. Soft chips sticking to the drill bit, a matt or melted rim and visible deformation of the hole indicate that too much heat is being generated in the cutting area. This may be caused by excessive speed, a blunt cutting edge or prolonged contact between the tool and the material without removing the chips.
What should you use to drill polycarbonate?
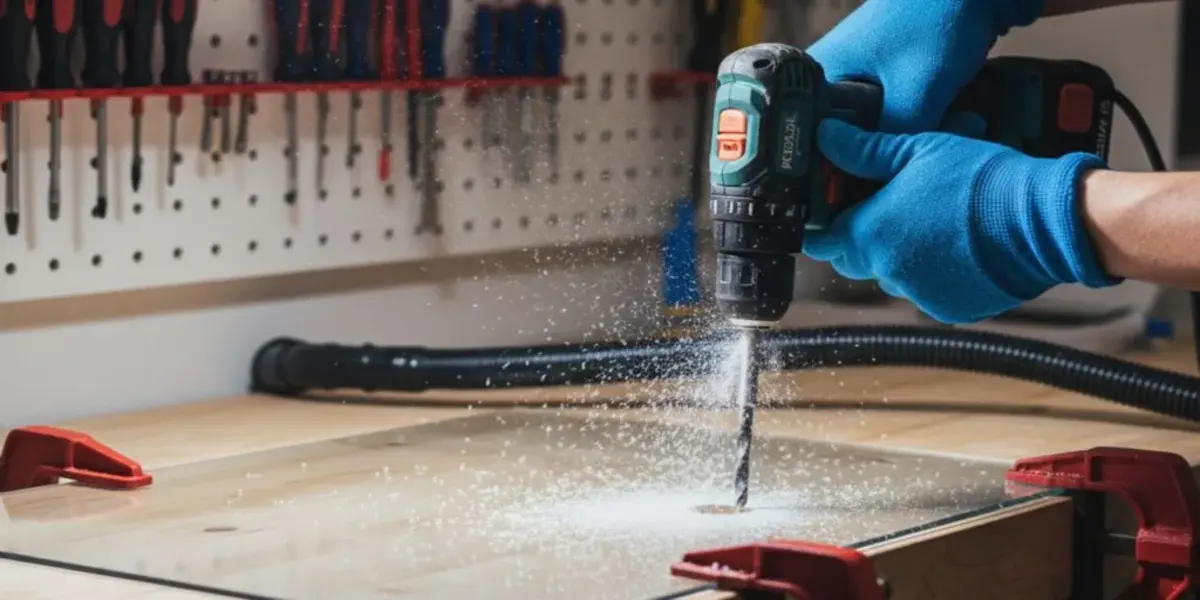
Standard holes do not require a special drill bit specifically labelled for use only with polycarbonate. Sharp high-speed steel HSS twist drill bits, commonly used for metal, work well. In its PALSUN documentation, the manufacturer permits new, properly sharpened HSS drill bits as well as carbide-tipped drill bits.
There is therefore no need to deliberately blunt a new tool. The cutting edge should make a clean cut with as little pressure as possible. A worn drill bit increases friction, requires greater force and heats the plastic more quickly, so an apparent saving on the tool may result in poorer hole quality.
For larger diameters, appropriately selected hole saws or other tools intended for making large holes in plastics can be used. The PALSUN documentation also provides for larger diameters using circle cutters and suitably shaped cutting edges. Regardless of the tool design, the basic principle remains the same – the cutting part must be sharp and heat generation must be controlled during operation.
Choosing the drill bit is only one part of the entire process. If the holes will be used for installation, it is advisable to prepare the appropriate polycarbonate accessories beforehand. Only once the dimensions of the screw, washer or other fixing element are known can the hole diameter be determined correctly.
How should the sheet and workstation be prepared for drilling?
The sheet should be placed on a stable, even surface. Do not drill a sheet that extends freely beyond the edge of a table or is supported only at a few widely spaced points. Even slight vibrations make it harder to guide the tool and increase the risk of damaging the material as the drill bit breaks through the lower surface.
The sheet can be secured with clamps, but the force should not act directly on the polycarbonate at a single point. A soft pad can be placed between the clamp jaw and the surface of the sheet. This makes it possible to immobilise the material without leaving dents or scratches.
The protective film can usually be left in place during measuring, cutting and drilling, unless the manufacturer of the specific sheet states otherwise. It reduces the risk of scratching the surface and makes it easier to apply markings. This is also important before final installation because the printing on the film often helps determine which side of the polycarbonate should face outwards.
The drilling point can be marked on a piece of masking tape applied to the protective film. This avoids making permanent marks directly on the sheet surface. Before marking the point, the distance from the edge, the position of the future fixing and, in the case of multiwall sheets, the arrangement of the internal ribs must also be checked.
If the sheet has not yet been cut to its final dimensions, it should first be fitted to the structure. Holes drilled before shortening the sheet may end up too close to the edge after subsequent cutting. For this reason, cutting multiwall polycarbonate should be completed before the final fixing points are marked.
Drilling polycarbonate step by step
Once the material has been prepared, the most important thing is to work steadily and calmly. The drill bit should remove the plastic with its cutting edge rather than force its way through the sheet under heavy pressure. A safe sequence is as follows:
- Stabilise the sheet. Place the sheet on an even surface and support the area immediately around the future hole. The material should not move or vibrate during drilling.
- Check the drilling location. Before starting the tool, check the distance between the drilling point and the edges, fixings and profiles. With multiwall polycarbonate, also take the position of the ribs into account.
- Select the diameter and tool. Use a sharp HSS drill bit for typical holes. If the hole will form part of a fixing, its diameter should be determined by the requirements of the system rather than solely by the screw diameter.
- Position the drill bit at a right angle. The axis of the tool should be as perpendicular as possible to the surface so that the hole has an even geometry on both sides of the sheet.
- Begin drilling without heavy pressure. Allow the cutting edge to remove the material gradually. Increasing pressure should not be used as a substitute for proper cutting.
- Monitor the drilling process. With thicker sheets or deeper holes, periodically withdraw the tool to remove chips and reduce heat build-up.
- Inspect the hole before installation. Check both edges, remove any remaining material and make sure there are no cracks, melted areas or deformation.
For screw holes, the work does not end once they have been drilled. The way the fixing is tightened is just as important as the drilling itself. The sheet should not be compressed in a way that prevents movement caused by temperature changes. For this reason, preparing the holes should be treated as part of the entire multiwall polycarbonate installation.
How do you select a hole for fixing polycarbonate?
For technical holes, the diameter follows directly from their intended purpose. With mechanical fixing, the situation is more complex. Polycarbonate expands when heated and contracts when cooled, so the fixing point should allow for the movement anticipated by the structure.
Hole diameter and thermal expansion
A fixing hole may be larger than the shank of the screw, but this does not mean there is one universal rule under which 2, 3 or 4 mm should always be added to every diameter. The amount of clearance required depends on the dimensions of the sheet, the type of polycarbonate, the operating temperature and, above all, the specific fixing system.
An example is the Marlon ST system, in which the manufacturer specifies 18 mm diameter holes for a particular method of point fixing. This value has been selected for the system design and cannot be treated as a recommendation for any multiwall sheet.
Similarly, the screw itself must work together with the appropriate washer and prepared hole. The selection of screws for multiwall polycarbonate should therefore be considered together with the hole diameter, expansion allowance and the way pressure is transferred onto the sheet surface.
How far should the hole be from the edge?
The closer the fixing is to the edge, the smaller the section of material remaining between the hole and the edge. This may increase local stress concentration. However, the minimum distance cannot be determined using one universal formula for every type of polycarbonate.
A comparison of specific manufacturer recommendations clearly shows how strongly the requirements can depend on the sheet structure:
|
Parameter
|
PALSUN – example for a solid sheet
|
Marlon ST – example for a multiwall sheet
|
Practical conclusion
|
|---|---|---|---|
|
Hole position relative to the edge
|
At least 2-2.5 times the hole diameter, but no less than 10 mm
|
Minimum 40 mm from the edge
|
The distance must be checked for the specific sheet or system
|
|
Position relative to the sheet structure
|
A homogeneous sheet has no internal ribs
|
The hole should be drilled between the ribs
|
The sheet structure affects the choice of drilling point
|
|
Fixing hole diameter
|
Depends on the specific application and fixing
|
18 mm in the specified Marlon ST solution
|
One diameter should not be applied to other systems
|
The comparison does not establish a common standard for polycarbonate. On the contrary – it shows why values relating to one product should not automatically be applied to another. Simplified rules that determine the position of the hole solely on the basis of sheet thickness are particularly risky.
How do you select the drilling speed and avoid overheating?
The drill speed should correspond to the diameter of the tool. Smaller drill bits can be used at higher speeds, while the speed should be reduced as the diameter increases. This relationship limits the cutting speed at the circumference of a larger tool and makes it easier to control the temperature.
For PALSUN sheets, the manufacturer gives approximate ranges of 1,500-1,800 rpm for a 3 mm hole, 800-1,500 rpm for 6 mm, 500-1,000 rpm for 10 mm and 350-700 rpm for a diameter of 15 mm. These parameters relate to a specific product and should not be presented as mandatory settings for every drill when working with any type of polycarbonate.
In practice, observing the material is more important than the number shown on the speed control. A correctly operating tool should produce chips without visibly melting the surface. If the plastic starts sticking to the drill bit, stop the work, clean the cutting edge and reduce heat build-up.
Additional cooling is usually unnecessary for standard holes. For deeper drilling, PALSUN permits cooling the drill bit and the machining area with compressed air. Regardless of the cooling method, periodically withdrawing the tool and removing accumulated chips remains an effective way to reduce temperature.
Why should the drill bit be kept perpendicular?
Holding the tool at an angle means that the hole does not have the same geometry on both sides of the sheet. For an ordinary technical opening, this may primarily affect appearance, but with a fixing the problem is more serious. The washer will then not sit evenly against the surface, which can cause pressure to become concentrated on one side.
When working with a hand-held drill, the position can be checked using a square placed beside the tool. The position should be assessed in two planes. When making a larger number of identical holes, it is easier to use a guide with a pre-prepared perpendicular channel.
A pilot hole is not mandatory. With a small or medium diameter, a sharp drill bit and stable positioning, it is usually possible to start directly with the final-size tool. Pre-drilling is useful when a larger drill bit tends to wander away from the marked point.
Drilling solid and multiwall polycarbonate – what changes?
The basic technique remains similar for both materials, but the sheet itself behaves differently. In a solid sheet, the tool passes through homogeneous material throughout the entire operation. Stable support is particularly important as the cutting edge exits the lower surface because this is when a thin sheet is most likely to bend under pressure.
Multiwall polycarbonate has several walls connected by ribs. The drill bit cuts through successive thin layers of material, so the drilling point must be matched to the internal structure of the sheet. In systems such as Marlon ST, the manufacturer requires the hole to be drilled between the ribs. However, the same dimensional arrangement should not automatically be applied to all available multiwall sheets.
Another difference concerns chips. With solid sheets, they remain mainly on the surface and inside the finished hole. With multiwall material, some particles may enter the channels. They must be removed before the edges are finally sealed because access to the inside of the sheet will later be restricted.
This is particularly important when constructing a polycarbonate roof, where the sheets are joined with profiles, fixed to the structure and protected against moisture after processing. Inaccuracies at the drilling stage may therefore affect the subsequent behaviour of the entire covering.
What should be done with the chips after drilling the holes?
The sheet surface should be cleaned before washers, profiles and other installation elements are fitted. Chips left directly around the hole may become trapped beneath a seal or washer and prevent it from sitting evenly against the surface.
With a multiwall sheet, the channels should also be inspected. Plastic particles may travel a considerable distance from the machining point and later remain visible through the surface of the sheet. It is best to remove them before sealing the open ends of the sheets.
Compressed air can be used for this purpose, directing it so that the debris is blown outwards. A strong jet aimed in the wrong direction may instead push the chips deeper into the channels, so before cleaning begins it is advisable to check where the material can freely exit the sheet.
Thorough cleaning of the chambers is important not only for technical reasons. In transparent structures such as polycarbonate terrace canopies, particles left inside may remain visible after installation is complete, when removing them will be considerably more difficult.
The most common causes of cracks and damage during drilling
If polycarbonate cracks while holes are being made, the cause should be sought in the entire working method rather than only in the type of drill bit. The problem most commonly results from one or more of the following mistakes:
- using a blunt or damaged drill bit that increases friction instead of cutting smoothly through the material;
- failing to provide support directly beneath the drilling point, allowing the sheet to bend as the tool exits;
- applying excessive pressure, particularly towards the end of drilling the hole;
- working at a speed that causes excessive heating and melting of the plastic;
- positioning the hole too close to the edge without checking the minimum distance required for the particular product;
- failing to take the ribs into account when drilling a multiwall sheet;
- making a fixing hole without the clearance required for thermal movement of the sheet;
- guiding the drill bit at a noticeable angle to the sheet surface;
- leaving a large amount of chips in the hole or chambers during subsequent installation;
- drilling the hole correctly but then over-tightening the fixing element.
The last situation shows why drilling should not be separated from fixing. A hole may have the correct diameter and clean edges, but a washer that is pressed down too tightly may still cause deformation and stress concentration. This is important both for lightweight canopies and for larger structures such as polycarbonate greenhouses.
What should you do with an uneven or damaged hole?
Minor burrs do not automatically mean that the sheet has been ruined. First, inspect the edge carefully and check whether the damage is limited to the surface or whether a crack extends beyond the outline of the hole. It is also important to determine whether the material has overheated and deformed.
Enlarging every unsuccessful hole is not a safe solution. After drilling it out, there may be too little material left between the hole and the edge of the sheet, or the diameter may no longer match the washer. Before making such a correction, the entire fixing arrangement must therefore be reassessed.
If the hole is badly deformed, a crack has appeared around it or the material has clearly melted, the fixing point may be moved to another location permitted by the structure. The unused hole should be sealed using a solution compatible with polycarbonate and with the construction method used for the particular canopy.
More serious damage should not be assessed solely on the basis of the length of the visible crack. Its direction, position relative to the edge and fixing, the way the sheet is loaded and the structure of the material all matter. With a multiwall sheet, it is also necessary to determine whether the damage affects the ribs. If the crack weakens a significant part of the sheet or continues to grow, replacing the sheet may be safer than leaving a repaired point in the structure.
Summary
Polycarbonate can be drilled using standard, properly sharpened HSS drill bits without the need for specialist equipment. Hole quality depends primarily on stable support of the sheet, tool sharpness, controlled pressure, correct positioning of the drill bit and selecting a drilling speed that prevents the material from overheating during cutting.
For holes intended for fixing, the requirements of the specific system are equally important. Hole diameter, thermal expansion clearance and minimum distance from the edge do not have one value suitable for all sheets. Values such as 18 mm and a minimum of 40 mm for Marlon ST, or a distance of 2-2.5 times the hole diameter, but no less than 10 mm, in the PALSUN recommendations apply to specific products. Therefore, before drilling begins, the machining parameters must be checked against the documentation for the sheet and fixing elements being used.